
Vorher & Nachher Expose Ansicht
- Foto
- Deine Auswahl
- Dein Bild
Sieh, was möglich ist
Echte Ergebnisse aus Fotos wie deinem.
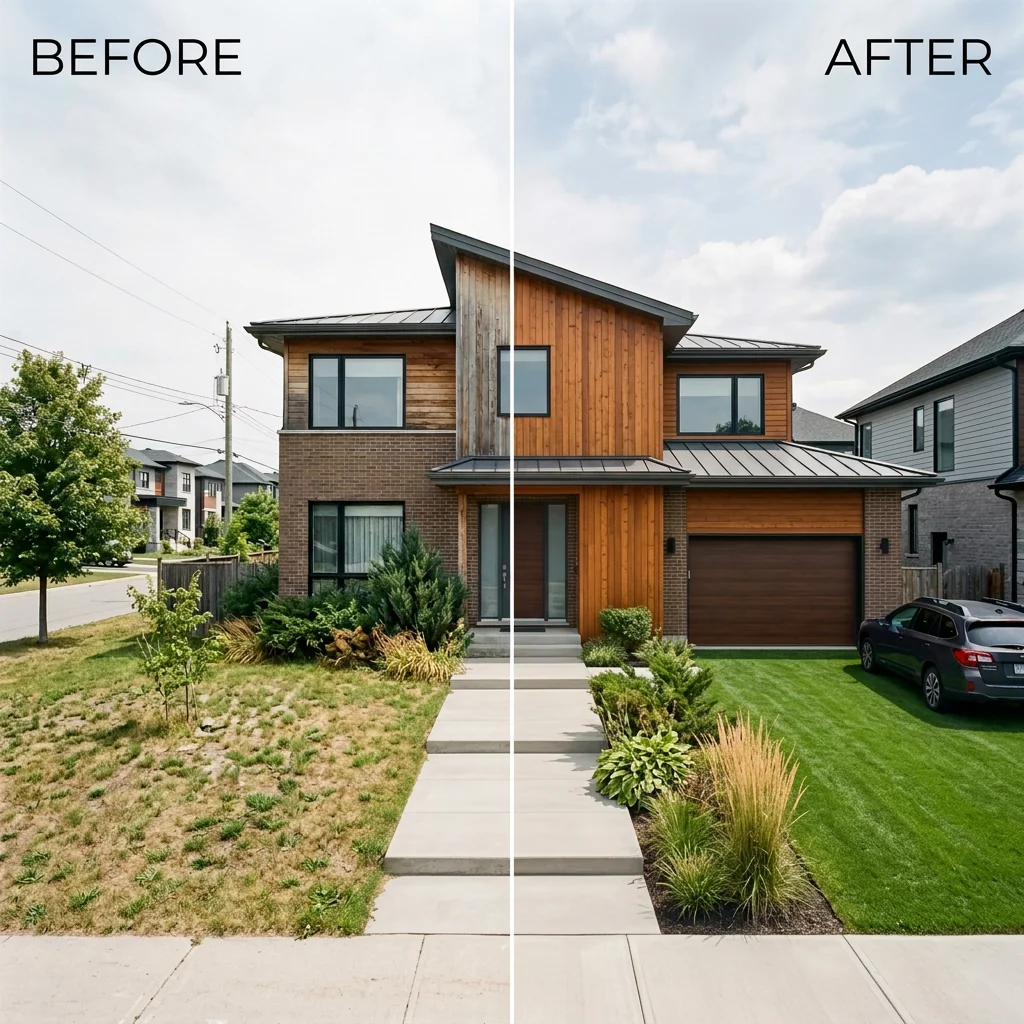
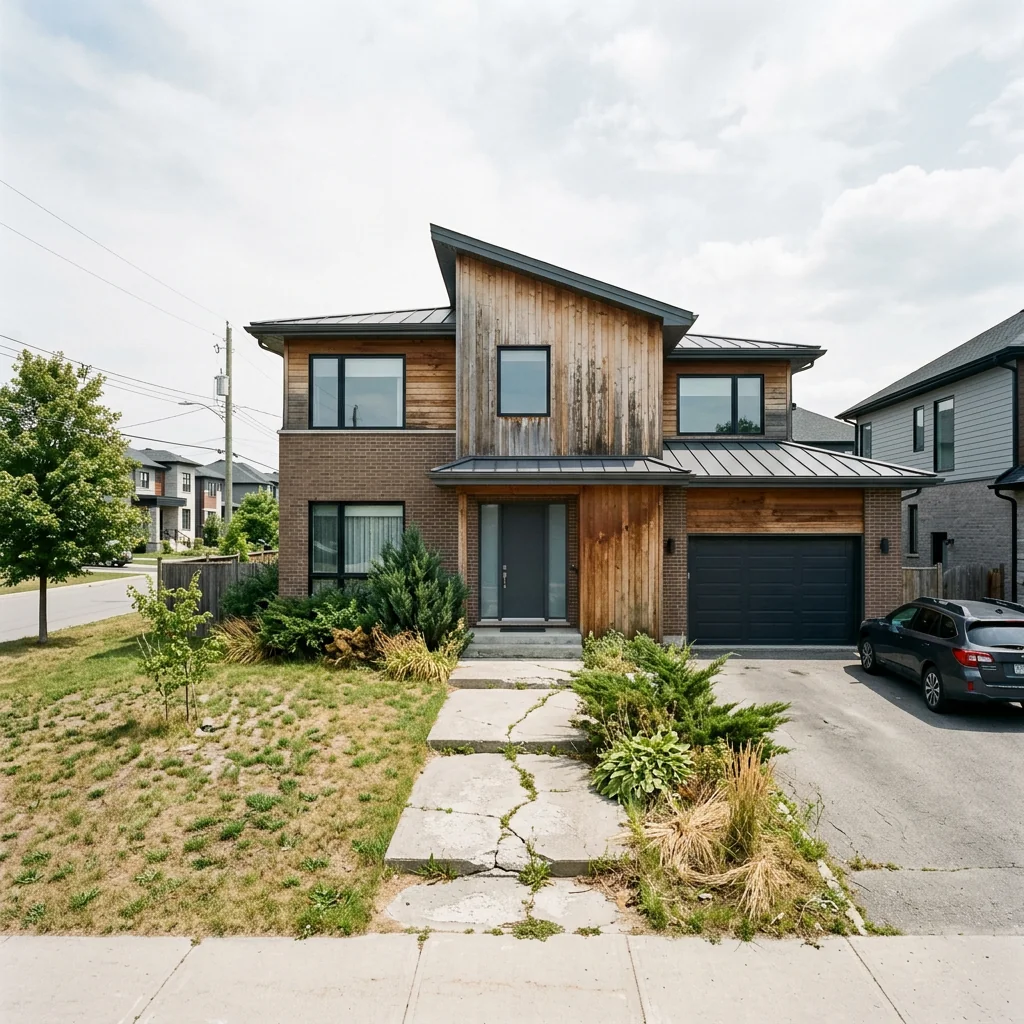



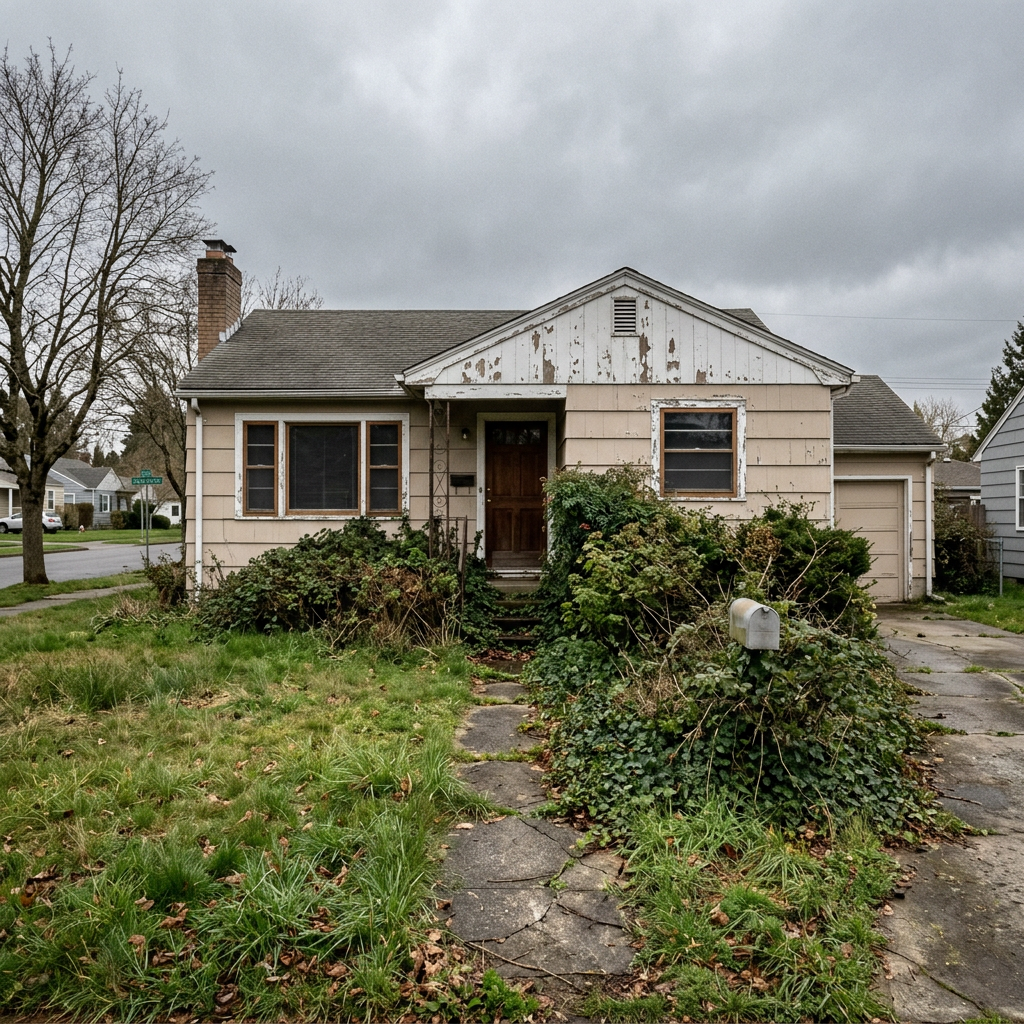
So funktioniert es
- 1Lade dein Foto hoch
- 2Wähle deine Einstellungen
- 3Dein Bild
Tipps für ein gutes Ergebnis
Helles, klares Foto
Tageslicht und ein Weitwinkel liefern das beste Ergebnis.
Zeig den gesamten Bereich
Behalte alles im Bild, was du ändern möchtest.
Probiere mehrere Varianten
Vergleiche verschiedene Optionen, bevor du dich entscheidest.
Häufige Fragen
Darf ich die Bilder kommerziell nutzen?
Ja. Du kannst deine Bilder für jeden Zweck verwenden, einschließlich kommerzieller Nutzung.
Ändert sich mein Originalfoto?
Nein. Dein Original bleibt unverändert und du kannst es jederzeit herunterladen.
Was ist, wenn mir das Ergebnis nicht gefällt?
Probiere einen anderen Stil oder eine andere Einstellung aus oder verfeinere das Ergebnis mit einer kurzen Anweisung.
Weitere Tools entdecken
Alle Tools
Makler "Team kennenlernen"-Grafik
Gestalte aus einem Foto und deinen Angaben eine Makler- oder Teamgrafik. Wähle einen Stil und prüfe Namen, Kontaktdaten und gerenderten Text vor dem Teilen.
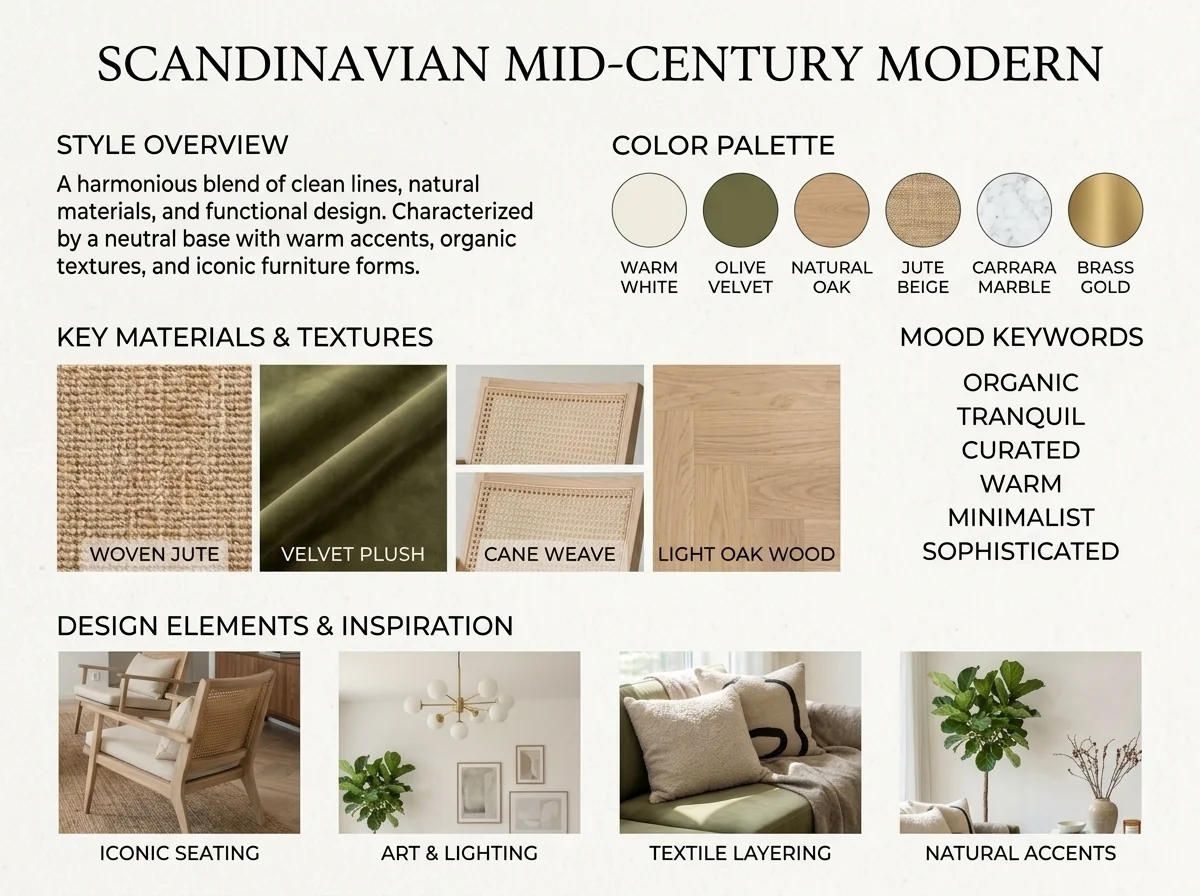
KI Einrichtungsstil Detektor & Moodboard
Erkunde den Stil eines Raumfotos als visuelles Konzept. Wähle etwa Farben, Materialien oder ein Moodboard als Schwerpunkt; das Bildtool bestätigt keinen Stil und identifiziert keine Produkte verbindlich.

"Coming Soon" Sneak Peek Teaser
Gestalte ein Coming-Soon-Bild aus einem Immobilienfoto. Wähle einen Unschärfe- oder Lichteffekt und ergänze deinen Text; prüfe Lesbarkeit und Angaben vor der Veröffentlichung.
Lies den vollständigen Leitfaden
Deine Idee vorbereiten
Ordne dein eigenes Vorher- und Nachherfoto zu einem statischen Vergleichsbild an. Wähle Layout und Beschriftung; eine Trennlinie gehört zum Bild und ist kein interaktiver Regler.
Bereite dein Quellenfoto und die im Formular angegebenen Referenzen vor. Die Einstellungen zeigen, was dieses Tool verändern soll.
Anfrage und Ergebnis prüfen
Prüfe Verfügbarkeit, Bildanzahl und den aktuellen Gesamtpreis vor deiner ausdrücklichen Bestätigung. Eine Registrierung allein bestätigt kein Guthaben oder kostenloses Ergebnis. Bei unklarem Ausgang prüfe den gespeicherten Status der bestehenden Anfrage, bevor du erneut bestätigst.
Frühere Originalanleitung lesen
Diese frühere Anleitung kann historische Preis-, Zeit-, Qualitäts- oder Nutzungsaussagen enthalten. Die aktuelle Beschreibung und das Tool-Formular sind maßgeblich.
How long does generation take for Before & After Side-by-Side Listing?
Generation usually takes between 5 and 15 seconds.
Can I use the results commercially?
Yes, every generated image includes a full commercial usage license.
Tips for your photo
Make sure the photo is well lit and shot from a wide angle.
Remove clutter before shooting the photo for the best results.
Use re-staging mode for targeted style changes.
Frequently asked questions
What are the optimal input image formats and resolutions for the Before & After Side-by-Side Listing tool?
For best Before & After Side-by-Side Listing results, upload high-resolution JPEG or PNG real estate photos (minimum 1920px on the longest side). This ensures crisp detail in your property listing comparisons, vital for MLS and Zillow visibility.
How long does it typically take for the AI to generate a Before & After Side-by-Side Listing?
The AI processes your Before & After Side-by-Side Listing in under 15 seconds. This rapid generation allows agents to quickly create professional property listing comparisons, enhancing marketing efficiency for any real estate photo.
What is the output quality and resolution of the generated Before & After Side-by-Side Listing images?
The Before & After Side-by-Side Listing tool outputs high-resolution images (up to 4K, matching input quality) suitable for all property listing platforms. Expect professional-grade real estate photos with clear labels, ready for MLS and agent marketing.
What are the best practices for uploading real estate photos to achieve optimal Before & After Side-by-Side Listing results?
For superior Before & After Side-by-Side Listing comparisons, ensure both real estate photos have similar angles and lighting. Consistent staging helps the AI highlight transformations effectively, making your property listing more compelling for potential buyers.
Can I edit or re-generate a Before & After Side-by-Side Listing if I'm not satisfied with the initial output?
Yes, you can easily re-generate your Before & After Side-by-Side Listing. Simply adjust your input real estate photos or select different comparison options and re-submit. The tool allows multiple attempts to perfect your property listing visuals.
Technical FAQ: Before & After Side-by-Side Listing
Quick answers for optimal results
Common mistakes
5 Before & After Side-by-Side Listing Mistakes Killing Your Real Estate Photos
How to create stunning before & after real estate photos online that sell properties faster
Using Low-Resolution 'Before' Real Estate Photos
A blurry or pixelated 'before' photo diminishes the impact of the transformation. Potential buyers need to see the starting point clearly to appreciate the staging.
Always upload high-resolution 'before' real estate photos to the Before & After Side-by-Side Listing tool. Ensure the image is sharp and well-lit for maximum impact on your property listing.
Inconsistent Framing in Your Side-by-Side Real Estate Photos
If the 'before' and 'after' real estate photos aren't framed similarly, the comparison is confusing. Buyers can't easily see the improvements if the angle or perspective shifts dramatically.
When taking 'before' and 'after' real estate photos, use a tripod and mark the exact spot. This ensures consistent framing when you upload to the Before & After Side-by-Side Listing tool, creating a seamless visual comparison for your MLS listing.
Ignoring Lighting in Your Before & After Side-by-Side Real Estate Photos
Poor lighting in either the 'before' or 'after' real estate photo distorts the perceived change. A dark 'before' photo might make the 'after' look artificially bright, or vice versa.
Optimize lighting in both 'before' and 'after' real estate photos. Use natural light or consistent artificial lighting. The Before & After Side-by-Side Listing tool highlights the contrast, so start with balanced images.
Over-Editing the 'After' Real Estate Photo
While enhancement is good, excessive editing makes the 'after' photo look unrealistic. This can erode trust with potential buyers and create disappointment during viewings, hurting your chances on Zillow.
Use subtle enhancements in your 'after' real estate photos. Focus on brightness, contrast, and color correction. Let the Before & After Side-by-Side Listing tool showcase the staging without looking artificial. Remember to be transparent as an agent.
Forgetting to Label Your Side-by-Side Real Estate Photos
Without clear labels, viewers might not understand what they're seeing. The Before & After Side-by-Side Listing tool is designed to make the changes obvious, but labels reinforce the message.
Always use the Before & After Side-by-Side Listing tool's labeling feature to clearly identify the 'before' and 'after' images. This ensures viewers immediately grasp the transformation, improving engagement with your property listing.
Unlock Stunning Transformations: Before & After Side-by-Side Listing Results
Upload your real estate photos and see the instant impact of a professional side-by-side comparison for your property listing.
Your workflow
5 Tips to Transform Your Property Listing with Before & After Side-by-Side Images
How to create a stunning before & after side-by-side listing online to attract more buyers
Upload Your Real Estate Photos
Upload your 'before' and 'after' real estate photos to the PropStage.ai Before & After Side-by-Side Listing tool. Ensure the photos are high-quality for optimal results. This step is crucial for showcasing the transformation of the property listing.
Use photos taken from the same angle and with similar lighting for a seamless comparison in your before & after side-by-side listing.
Enhance with AI
Let PropStage.ai's AI automatically enhance your real estate photos. The Before & After Side-by-Side Listing tool will adjust lighting, colors, and sharpness for a professional look, making your property listing stand out on Zillow and other platforms.
Experiment with different AI enhancement settings to find the perfect balance for your before & after side-by-side listing.
Customize Your Side-by-Side
Customize the labels and design of your before & after side-by-side listing. The PropStage.ai tool allows you to add text, adjust the divider, and choose a color scheme that matches your branding or the property's aesthetic. Optimize for MLS and social media.
Keep the labels concise and informative, highlighting the key improvements made to the property in your before & after side-by-side listing.
Generate & Download
Generate your professional before & after side-by-side image and download it in various formats. The PropStage.ai Before & After Side-by-Side Listing tool ensures high resolution and compatibility with MLS, Zillow, and other real estate platforms, ready for your agent profile.
Download multiple versions of your before & after side-by-side listing optimized for different platforms (e.g., square for Instagram, landscape for Zillow).
Use cases
Real Estate Listings for Before & After Side-by-Side Listing
Social Media Marketing & Instagram Inserate
Architektur- & Umbau-Präsentationen
Before & After Side-by-Side Listing — Technical Specifications
1. Upload your property photo.
2. Choose the interior style or room type you want.
3. Click Generate and get your result in seconds.
Expert guide
5 Tips: Transform Your Real Estate Photos with Before & After Side-by-Side Listing
How to Create Stunning Before & After Side-by-Side Listing Online for Your Property Listing
Prepare High-Quality Real Estate Photos for Optimal Results
Upload clear, well-lit real estate photos to our Before & After Side-by-Side Listing tool. Ensure both 'before' and 'after' images are taken from the same angle for a seamless comparison, boosting your MLS appeal.Fine-Tune Settings for a Polished Property Listing Presentation
Adjust the label text and color settings within our Before & After Side-by-Side Listing tool to match your brand. A consistent visual style across your property listing will enhance your agent profile on platforms like Zillow.Achieve the Best Before & After Side-by-Side Listing with Staging
Stage your property effectively before taking 'after' photos. Our Before & After Side-by-Side Listing tool highlights the impact of staging, making your listing more attractive to potential buyers and increasing engagement.
Utilize Before & After Side-by-Side Listing for Professional Marketing Materials
Convert your side-by-side comparisons into eye-catching marketing visuals. Enhance your real estate photos for brochures, social media, and online ads using our tool, attracting more clients and boosting your sales.How it works
3 Steps to Create a Professional Before & After Side-by-Side Listing
How to generate before & after side-by-side listing comparisons for MLS and Zillow online for free
Upload Your Property Listing Photos
Upload your original property photo and the edited version into the generator to start your Before & After Side-by-Side Listing comparison for high-impact real estate marketing and staging portfolios.
Customize Your Staging Comparison Layout
Select the optimal layout and add custom labels like 'Staged' or 'Renovated' to your Before & After Side-by-Side Listing to demonstrate value to potential home buyers and brokers.
Download High-Resolution MLS Marketing Assets
Export your completed Before & After Side-by-Side Listing in high-definition format, perfectly sized for immediate upload to MLS, Zillow, and professional real estate agent social media profiles.
What you can do
Advanced Before & After Side-by-Side Listing Capabilities
High-Resolution Output Quality
Transform real estate photos into crisp, high-resolution Before & After Side-by-Side Listing comparisons, ideal for showcasing property improvements on MLS.
Instant Side-by-Side Generation
Convert your uploaded real estate photos into a Before & After Side-by-Side Listing in seconds, saving valuable agent time for property listings.
Versatile Export Formats
Upload and convert Before & After Side-by-Side Listing images into various formats, ensuring compatibility across all property listing platforms.
Customizable Comparison Layouts
Stage your Before & After Side-by-Side Listing with flexible templates and labels, allowing agents to tailor each property listing comparison perfectly.
AI-Powered Alignment Precision
Enhance your Before & After Side-by-Side Listing with AI that intelligently aligns real estate photos and adds clear labels for impactful property listings.
Professional Marketing Boost
Utilize Before & After Side-by-Side Listing for compelling real estate photos, empowering agents to attract more buyers to their property listings on Zillow.
Pro-level tools at your fingertips