
Grundriss als axonometrisches Bild
- Foto
- Deine Auswahl
- Dein Bild
Sieh, was möglich ist
Echte Ergebnisse aus Fotos wie deinem.
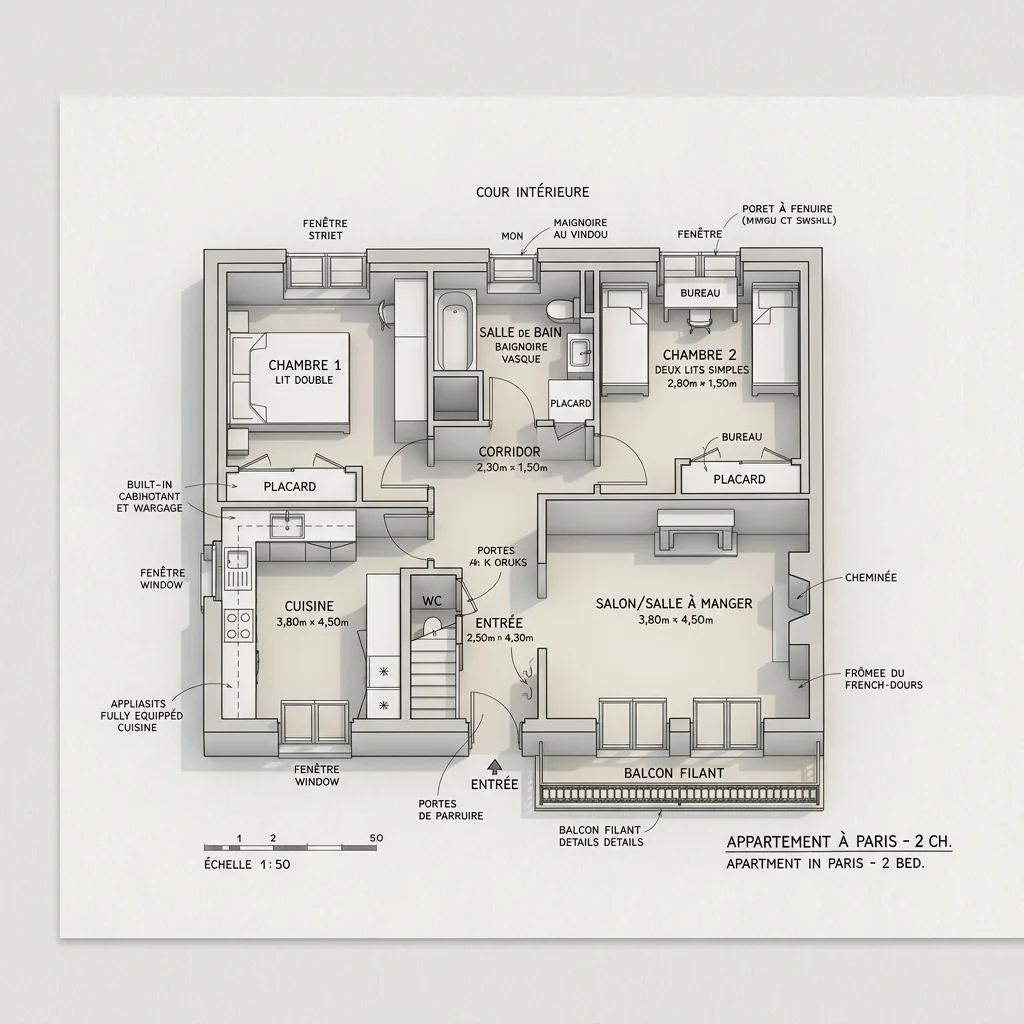
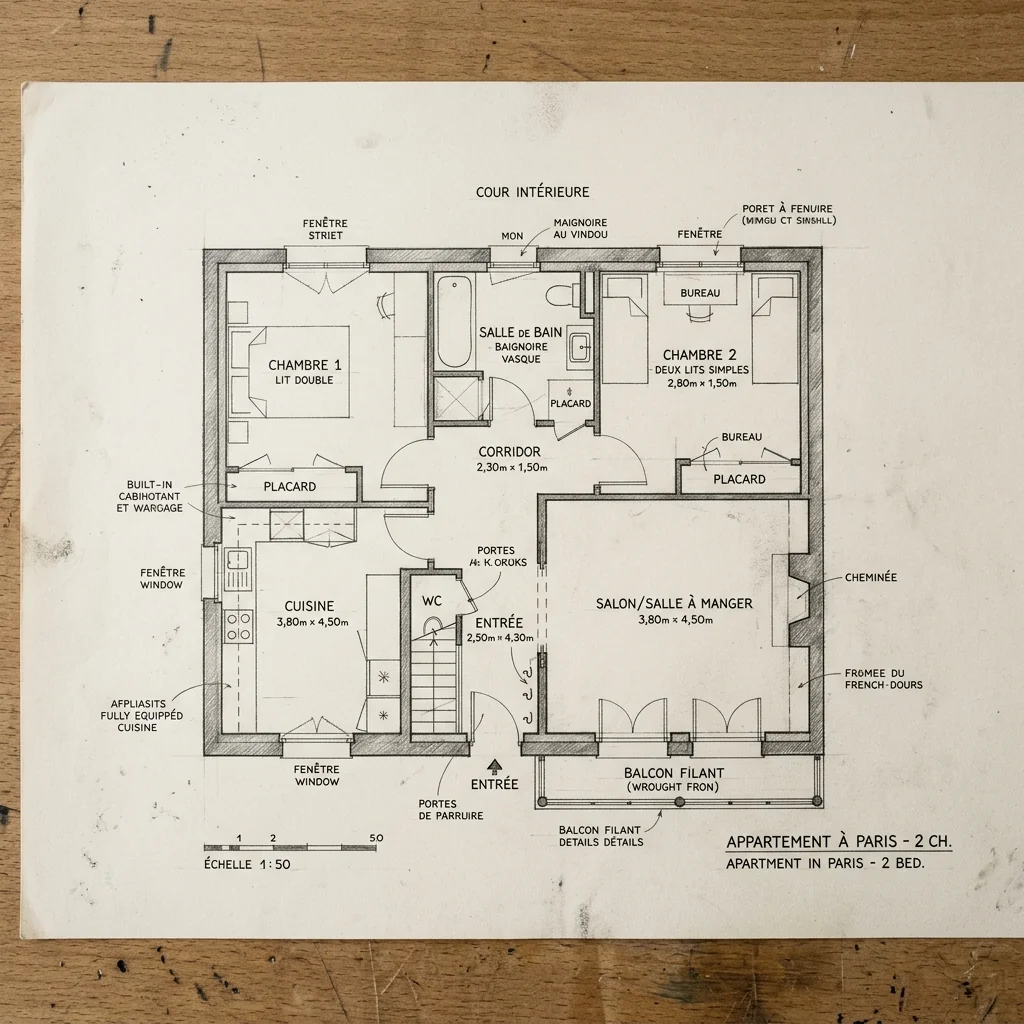

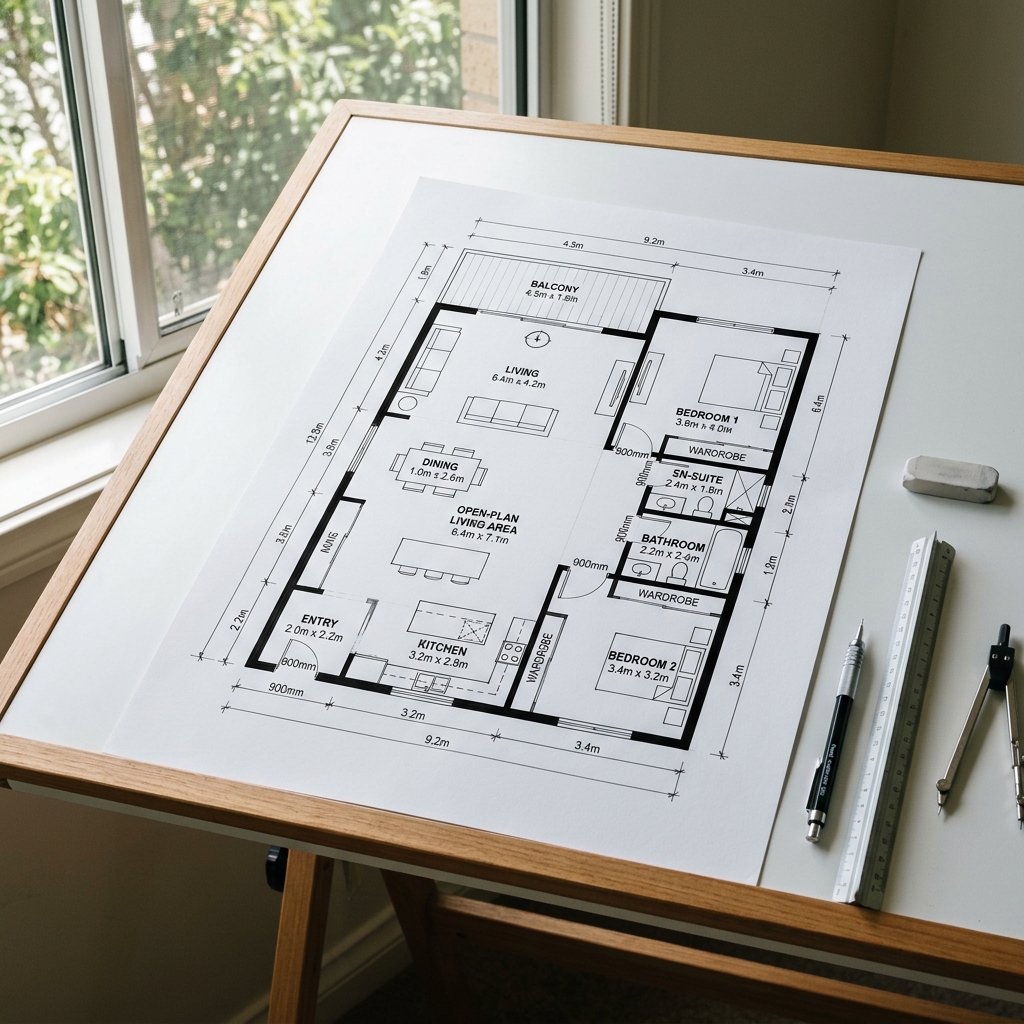

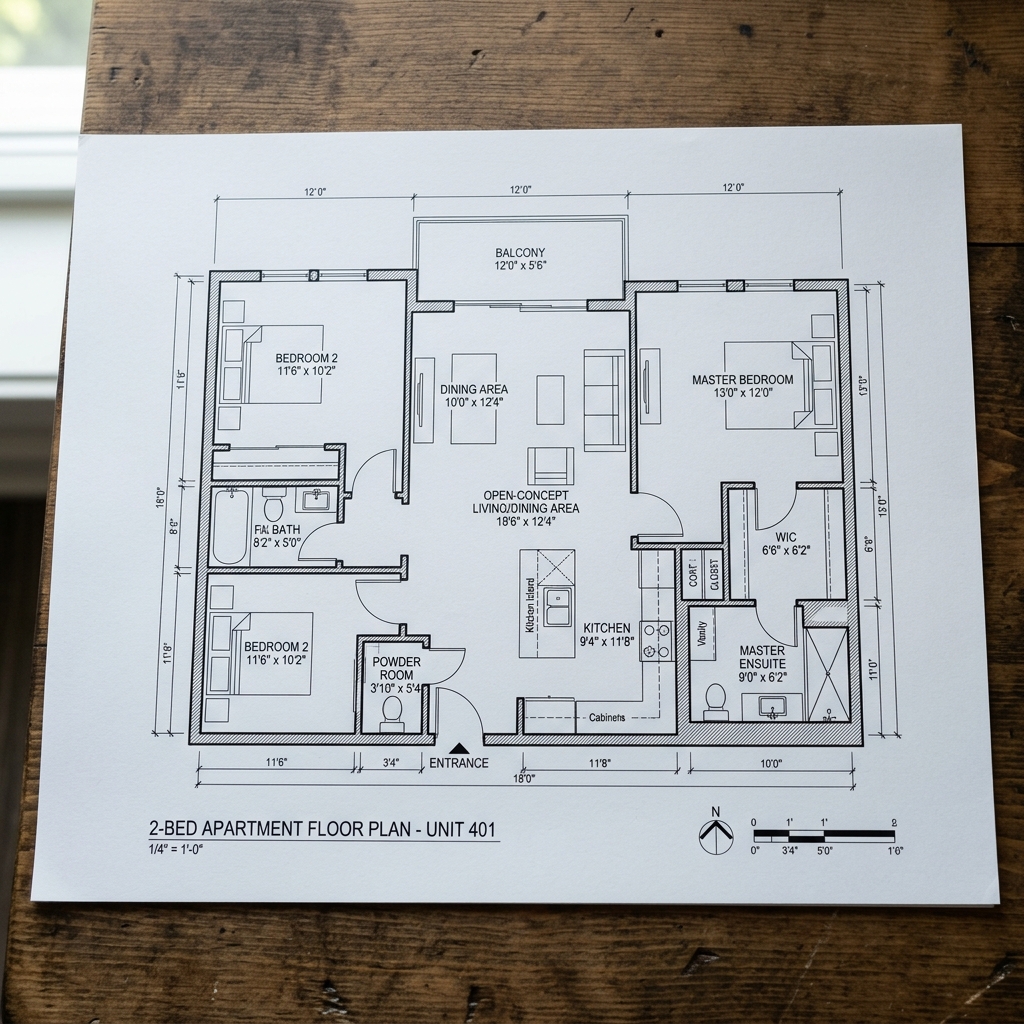
So funktioniert es
- 1Lade dein Foto hoch
- 2Wähle deine Einstellungen
- 3Dein Bild
Tipps für ein gutes Ergebnis
Helles, klares Foto
Tageslicht und ein Weitwinkel liefern das beste Ergebnis.
Zeig den gesamten Bereich
Behalte alles im Bild, was du ändern möchtest.
Probiere mehrere Varianten
Vergleiche verschiedene Optionen, bevor du dich entscheidest.
Häufige Fragen
Darf ich die Bilder kommerziell nutzen?
Ja. Du kannst deine Bilder für jeden Zweck verwenden, einschließlich kommerzieller Nutzung.
Ändert sich mein Originalfoto?
Nein. Dein Original bleibt unverändert und du kannst es jederzeit herunterladen.
Was ist, wenn mir das Ergebnis nicht gefällt?
Probiere einen anderen Stil oder eine andere Einstellung aus oder verfeinere das Ergebnis mit einer kurzen Anweisung.
Weitere Tools entdecken
Alle Tools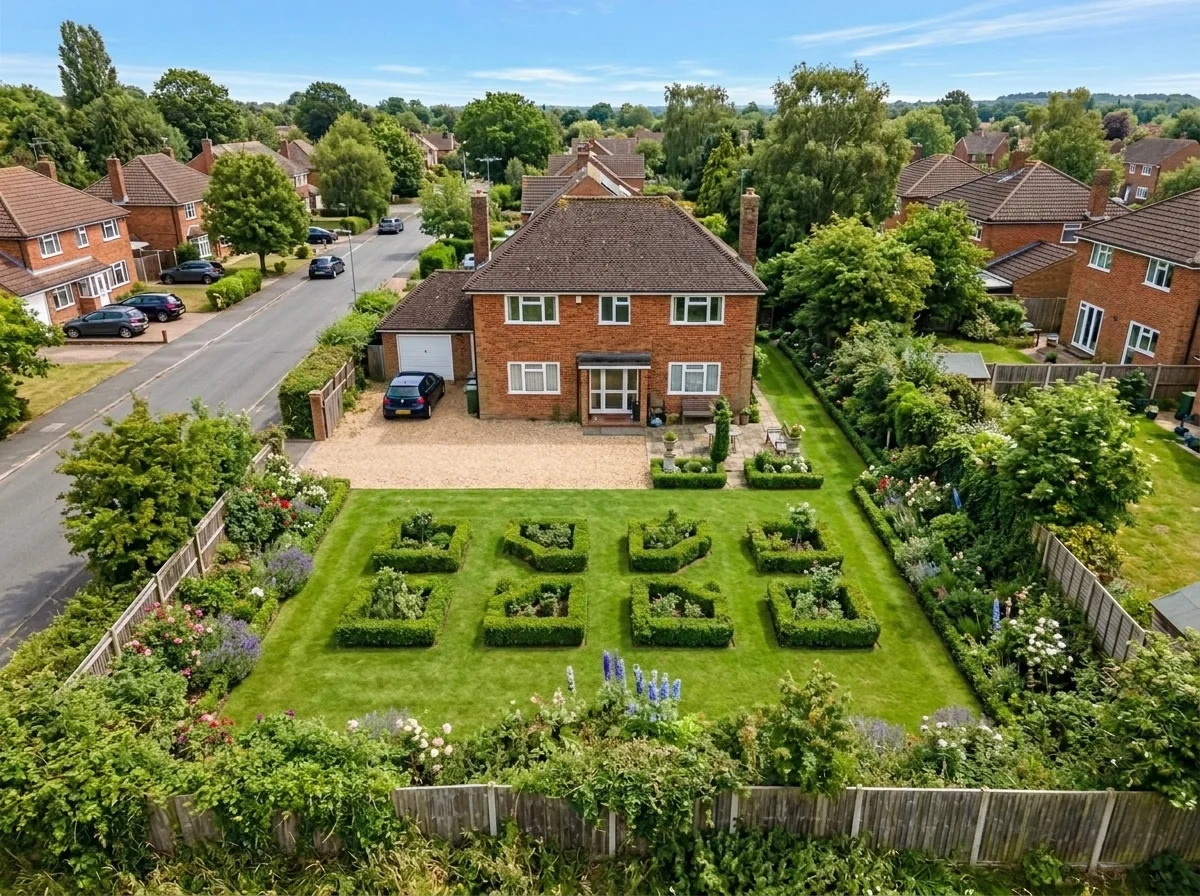
Aerial Landscaping Enhancement
Nutze ein Luftbild der Immobilie, um mit den verfügbaren Einstellungen Gestaltungsideen zu erkunden. Vergleiche ein zurückgegebenes Bild mit deinem Original; es ist kein vermessener Lageplan.

Kissen-Rand KI-Wechsler
Probiere andere Kanten, Paspeln oder Besätze an Kissen im Foto aus. Wähle Stil, Farbe und Material und beschreibe bei Bedarf die zu ändernden Kissen.

KI Kissenfransen & Rand-Tauscher
Entdecke Fransen- und Besatzideen für Kissen auf einem Innenraumfoto. Wähle Stil, Farbe, Material und Breite und prüfe die Details im zurückgegebenen Bild.
Lies den vollständigen Leitfaden
Deine Idee vorbereiten
Erstelle ein axonometrisches Bild aus einem Grundriss. Wähle Darstellungsstil und Detailstufe; die Ausgabe ist ein Bild, kein bearbeitbares 3D-Modell oder maßgeprüftes Gebäudemodell.
Bereite dein Quellenfoto und die im Formular angegebenen Referenzen vor. Die Einstellungen zeigen, was dieses Tool verändern soll.
Anfrage und Ergebnis prüfen
Prüfe Verfügbarkeit, Bildanzahl und den aktuellen Gesamtpreis vor deiner ausdrücklichen Bestätigung. Eine Registrierung allein bestätigt kein Guthaben oder kostenloses Ergebnis. Bei unklarem Ausgang prüfe den gespeicherten Status der bestehenden Anfrage, bevor du erneut bestätigst.
Frühere Originalanleitung lesen
Diese frühere Anleitung kann historische Preis-, Zeit-, Qualitäts- oder Nutzungsaussagen enthalten. Die aktuelle Beschreibung und das Tool-Formular sind maßgeblich.
How long does generation take for Floorplan to 3D Model?
Generation usually takes between 5 and 15 seconds.
Can I use the results commercially?
Yes, every generated image includes a full commercial usage license.
Tips for your photo
Make sure the photo is well lit and shot from a wide angle.
Remove clutter before shooting the photo for the best results.
Use re-staging mode for targeted style changes.
Frequently asked questions
What input formats and resolutions are best for converting my Floorplan to 3D Model?
Upload clear JPG, PNG, or PDF floorplans. For optimal results and accurate 3D model generation, ensure your input is high-resolution (300 DPI+ recommended) and free from clutter. This helps the AI precisely detect walls and rooms for your property listing.
How long does it typically take to convert my Floorplan to a 3D Model?
Convert your floorplan to a 3D model swiftly. Processing usually takes 30-90 seconds, depending on the complexity of the layout and current server load. This rapid turnaround allows agents to quickly enhance real estate photos and property listings.
What is the expected output quality of the generated Floorplan to 3D Model?
The tool generates a clean, axonometric 3D diagram, accurately showcasing room volumes, walls, and spatial relationships. This high-quality output is perfect for compelling presentations, enhancing your Zillow or MLS listing with professional visuals that impress potential buyers.
What are the best tips to achieve high-quality Floorplan to 3D Model conversions?
For best results, upload floorplans that are clear, well-lit, and free of handwritten notes or excessive furniture. Using original digital floorplan files, rather than scanned images, will significantly enhance the accuracy and detail of your generated 3D model for any agent's portfolio.
Can I re-generate or modify my Floorplan to 3D Model after the initial conversion?
Yes, you can easily re-upload and re-process your floorplan if you wish to refine the 3D model. While direct in-tool modification is limited, a new upload allows you to adjust inputs for a different output, ensuring your property listing always looks its best.
Technical FAQ: Floorplan to 3D Model
Quick answers for optimal results when you convert a floorplan to 3D model online
Common mistakes
5 Floorplan to 3D Model Conversion Mistakes Killing Your Property Listing
How to Floorplan to 3D Model Online: Avoid These Pitfalls for Better Real Estate Photos
Uploading Low-Resolution Floorplans
Blurry or pixelated floorplans result in inaccurate 3D models. The AI struggles to interpret the lines and dimensions, leading to misrepresentations of the property.
Transform your old files by scanning or sourcing high-resolution floorplans (300 DPI or higher) before uploading to the Floorplan to 3D Model tool. Ensure the lines are crisp and clear for optimal conversion.
Ignoring Dimensional Accuracy in the Floorplan
Inaccurate dimensions in the original floorplan will be directly reflected in the 3D model. This can mislead potential buyers and create issues during property viewings or virtual tours.
Double-check all dimensions on the floorplan before uploading. Verify wall lengths, room sizes, and door/window placements. Use accurate measurements to ensure the Floorplan to 3D Model tool generates a true representation of the space for your Zillow or MLS listing.
Overlooking Wall Thickness and Details
The Floorplan to 3D Model tool needs clear indications of wall thickness and any internal wall details (e.g., columns, recesses). Omitting these leads to simplified and less realistic 3D models.
Ensure your floorplan clearly indicates wall thickness and any significant architectural details. Add notes or symbols if necessary. This allows the AI to accurately represent the structural elements in the 3D model, enhancing its value for agent presentations.
Failing to Orient the Floorplan Correctly
Incorrect orientation of the floorplan can lead to a disorienting 3D model. The viewer may struggle to understand the layout and spatial relationships within the property.
Before uploading, ensure the floorplan is oriented correctly (e.g., North is up). This ensures the 3D model aligns with real-world directions and is easy to understand, improving the effectiveness of your real estate photos.
Not Optimizing the 3D Model for Different Platforms
A generic 3D model may not be suitable for all platforms (e.g., websites, social media, presentations). Different platforms have different resolution and file size requirements.
After converting your floorplan to a 3D model, optimize it for each platform where you plan to use it. Adjust the resolution and file size as needed to ensure optimal viewing and loading speeds. This maximizes the impact of your 3D model on potential buyers.
What Your Floorplan to 3D Model Results Will Look Like
Upload your floorplan image to see the power of AI conversion
Your workflow
Transform Floorplan to 3D Model: 5 Tips for Stunning Real Estate Visuals
How to Floorplan to 3D Model Online for Enhanced Property Listings
Upload Floorplan
Upload your 2D floorplan image to the Floorplan to 3D Model tool. Ensure the image is clear and properly scaled for optimal conversion.
Use high-resolution real estate photos of your floorplan for better accuracy. Clean images reduce errors in the conversion process.
Convert to 3D
Convert your uploaded floorplan into an axonometric 3D model using the Floorplan to 3D Model tool. The AI will automatically generate walls, rooms, and spatial relationships.
Review the initial 3D model for any discrepancies. Adjust settings within the tool if needed to refine wall heights or room dimensions based on your agent knowledge.
Enhance & Customize
Enhance the 3D model by adding textures, colors, and basic furniture elements to create a more visually appealing representation of the property listing.
Focus on highlighting key features of the property. Use neutral colors and simple furnishings to avoid distracting potential buyers from the architecture.
Download & Share
Download the generated 3D model in a suitable format (e.g., JPG, PNG) for use in your property listing. Share the model on your website, MLS, or Zillow.
Include the 3D model alongside real estate photos in your property listing to provide a comprehensive view of the property's layout. This can significantly improve engagement and generate more leads.
Use cases
Property Listings for Floor Plan to 3D Model
Social Media Marketing & Instagram Inserate
Architektur- & Umbau-Präsentationen
Floorplan to 3D Model — Technical Specifications
1. Upload your property photo.
2. Choose the interior style or room type you want.
3. Click Generate and get your result in seconds.
Expert guide
5 Pro Tips: Transform Your Floorplan to 3D Model for Stunning Real Estate Photos
Maximize your floorplan to 3d model quality online for compelling property listings
Prepare Crisp Floorplan Images for Optimal Conversion
Upload high-resolution floorplan images to ensure accurate 3D model generation. Clear lines and legible text are crucial for our AI to interpret the floorplan correctly. Enhance contrast for better results when converting your floorplan to a 3D model for Zillow or your MLS listing.Fine-Tune Settings for Detailed 3D Model Output
Experiment with different settings to refine the 3D model's appearance. Adjust wall heights and textures to match the real estate property's characteristics. This will significantly improve the visual appeal for potential buyers and your agent's marketing efforts. Perfect the floorplan to 3D model conversion.Achieve Best Results with Accurate Floorplan Data
Provide accurate and scaled floorplan dimensions for the most realistic 3D model. Double-check measurements to avoid distortions in the final output. A precise floorplan to 3D model conversion enhances the perceived value of the property and attracts more interest.Utilize 3D Models for Professional Real Estate Presentations
Incorporate generated 3D models into your presentations to impress clients. Showcase spatial relationships and room volumes effectively. This elevates your professional image and helps potential buyers visualize the property's layout, leading to faster sales. Use your floorplan to 3D model for success.How it works
3 Steps to Perfect Floorplan to 3D Model Conversion
How to convert 2D floorplans to 3D models online for real estate listings
Upload Your 2D Floorplan Image
Upload your existing 2D floorplan or architectural sketch to the PropStage.ai dashboard. Ensure the image is clear for the AI to accurately identify walls and doors for your property listing.
Select Axonometric Visualization Options
Choose your preferred architectural style and room volume settings. Our AI analyzes spatial relationships to transform flat lines into a professional axonometric 3D model suitable for Zillow and MLS.
Download Your High-Res 3D Model
Transform your data into a high-resolution 3D architectural diagram instantly. Enhance your client communication by downloading the final model to stage your home virtually and showcase the property's full potential.
What you can do
Advanced Floorplan to 3D Model Capabilities
High-Fidelity 3D Models
Transform basic 2D floorplans into stunning, axonometric 3D models with crisp lines and accurate spatial representation. Enhance your property listing visuals for agents on Zillow.
Instant 3D Model Generation
Convert your floorplans in seconds, not hours. Upload any image and instantly generate a clean, architectural 3D diagram, accelerating your real estate photos workflow.
Versatile Export Formats
Upload various 2D floorplan image types (JPG, PNG, PDF) and export your generated 3D models in widely compatible formats, ready for any MLS or presentation.
Tailored Model Customization
Stage and adjust your 3D models with options for wall thickness, furniture placement, and material textures, ensuring each property listing reflects its unique appeal.
AI-Powered Accuracy
Leverage advanced AI to precisely interpret complex floorplan layouts, ensuring accurate room volumes and spatial relationships, crucial for any agent's presentation.
Professional Presentation Ready
Enhance client communication and property listing appeal with polished, architectural 3D diagrams. Perfect for real estate agents, developers, and interior designers.
Pro-level tools at your fingertips