
Ferramenta de esboço para renderização
- Fotografia
- As suas escolhas
- A sua imagem
Veja o que é possível
Resultados reais de fotos como a sua.
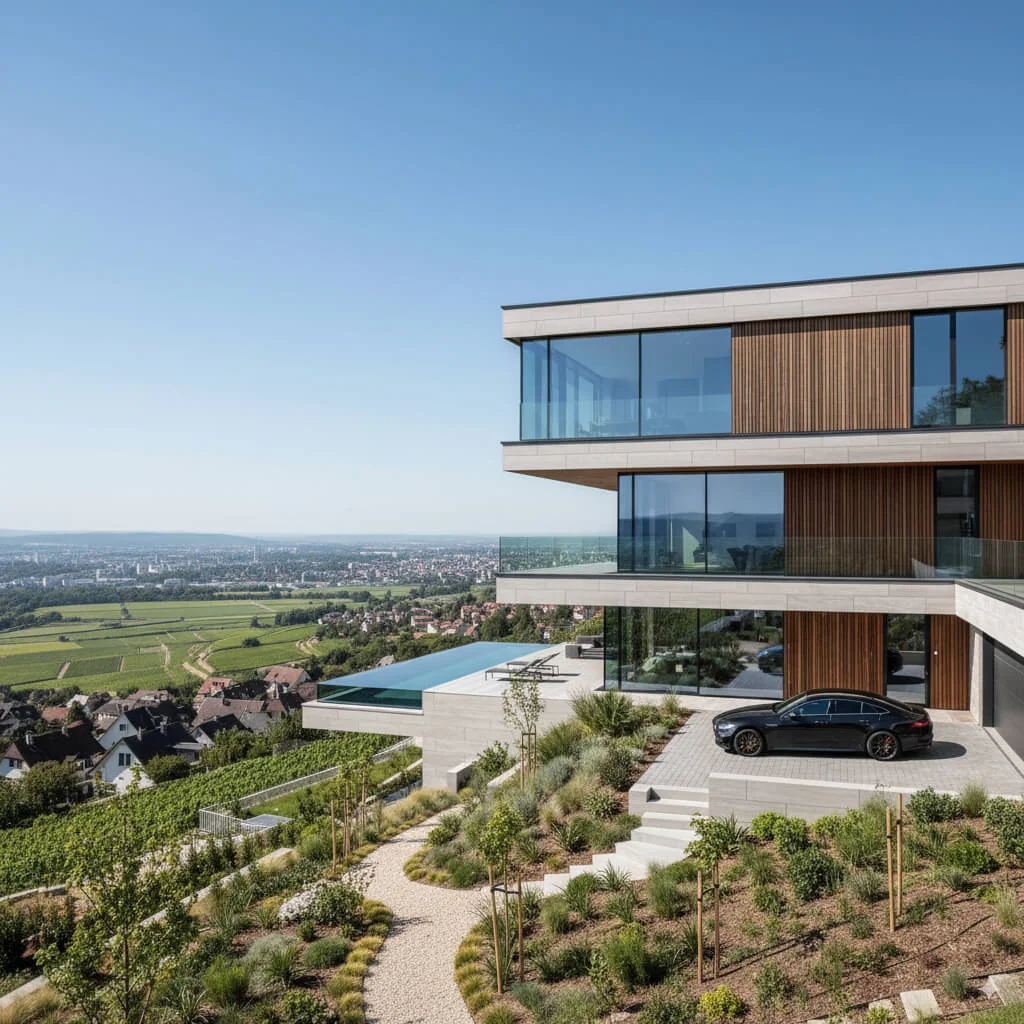
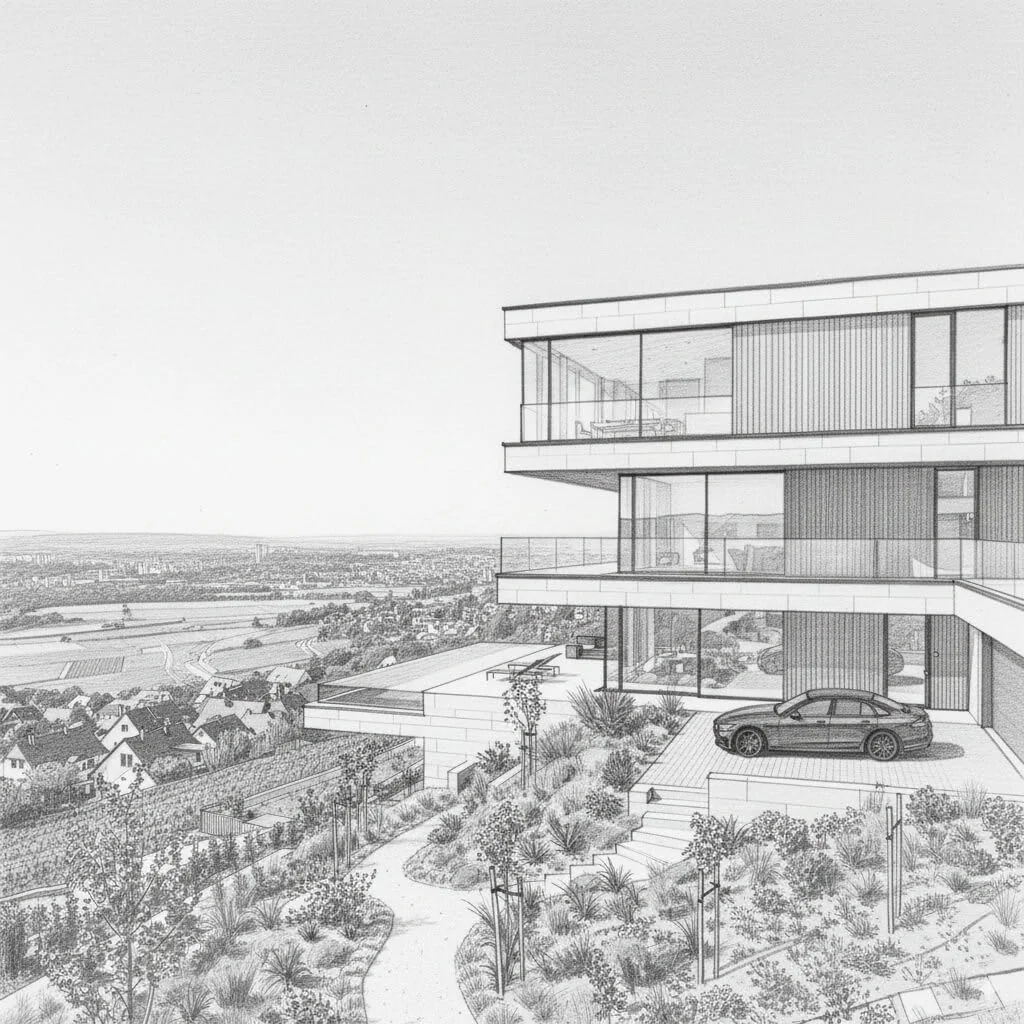

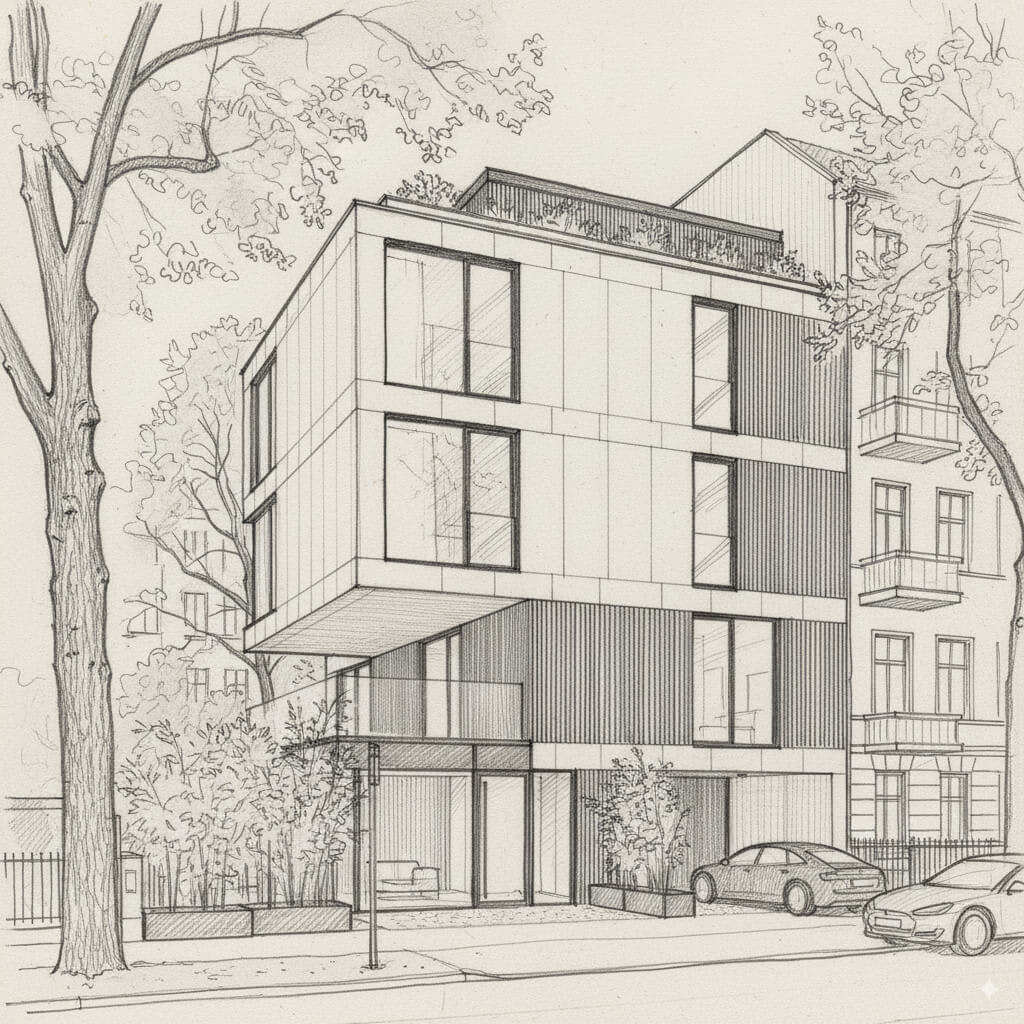

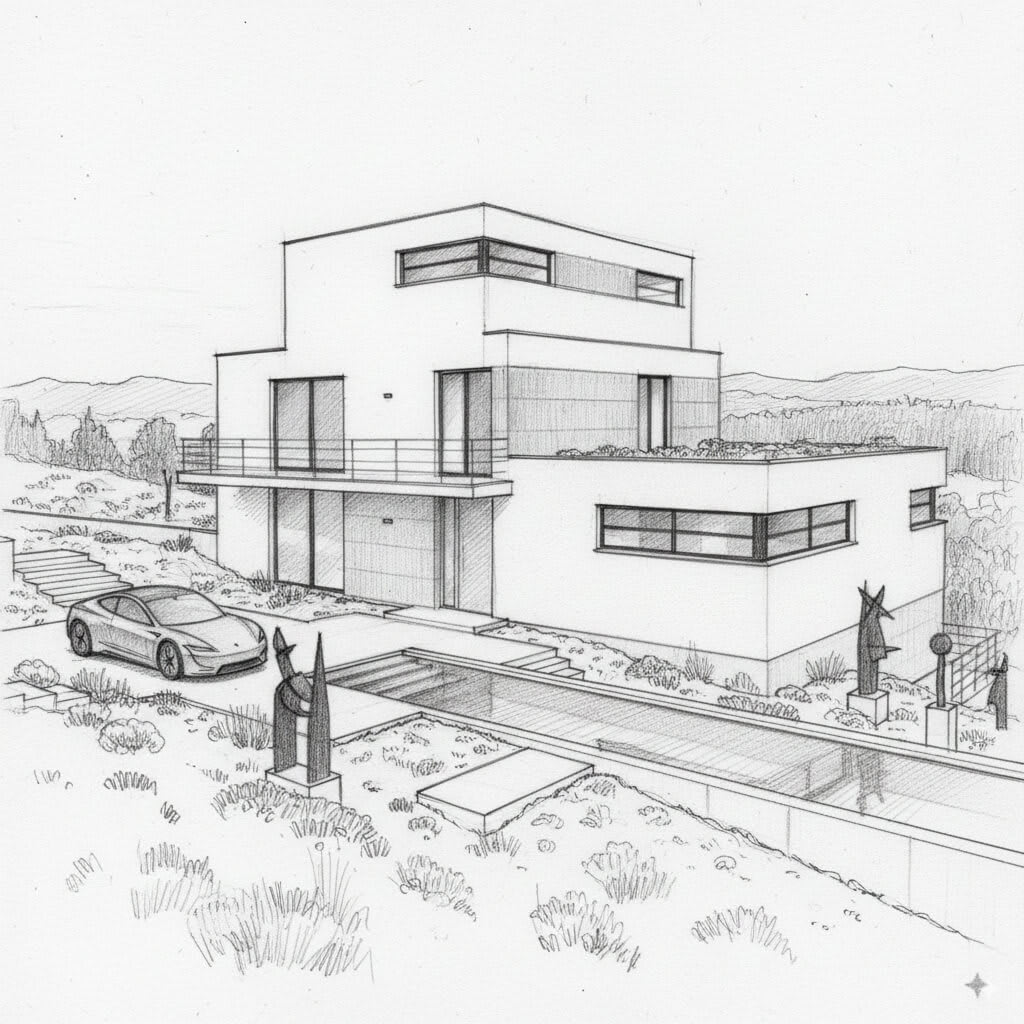
Como funciona
- 1Carregue a sua foto
- 2Escolha as definições
- 3A sua imagem
Dicas para um ótimo resultado
Foto nítida e clara
Luz natural e um ângulo amplo dão o melhor resultado.
Mostre toda a área
Mantenha tudo o que quer alterar totalmente visível na imagem.
Experimente várias variações
Compare diferentes opções antes de decidir.
Perguntas frequentes
Posso usar as imagens comercialmente?
Sim. Pode usar as suas imagens para qualquer finalidade, incluindo uso comercial.
A minha foto original muda?
Não. A sua foto original mantém-se inalterada e pode descarregá-la em qualquer altura.
E se eu não gostar do resultado?
Experimente outro estilo ou definição, ou refine o resultado com uma instrução curta.
Continuar a explorar
Todas as ferramentas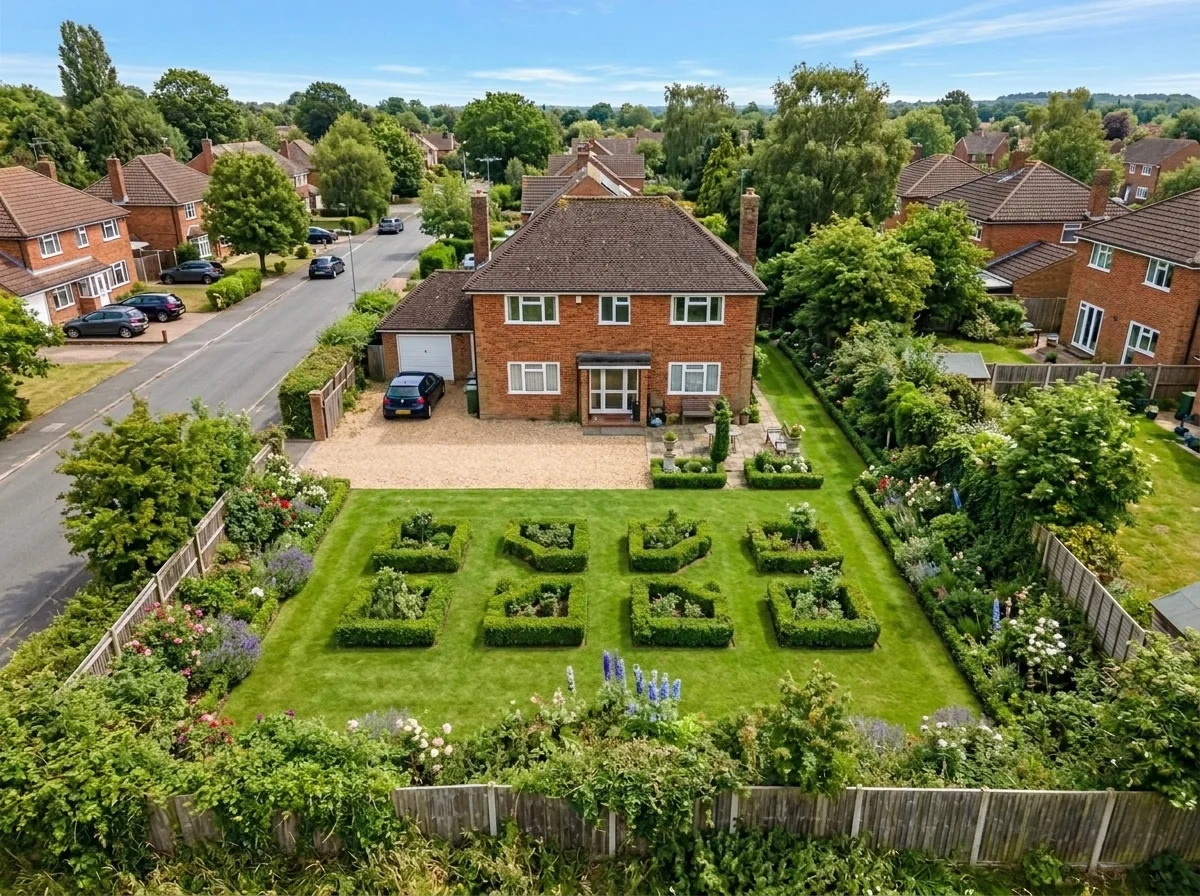
Melhoria da paisagem aérea
Transforme terrenos negligenciados, vazios ou pouco apelativos em fotos aéreas e de drone da propriedade. Adicione relvados luxuriantes, piscinas, jardins formais, canteiros e entradas impecáveis — tudo visível de cima. Mostre aos compradores todo o potencial do espaço exterior sem precisar de um único paisagista.
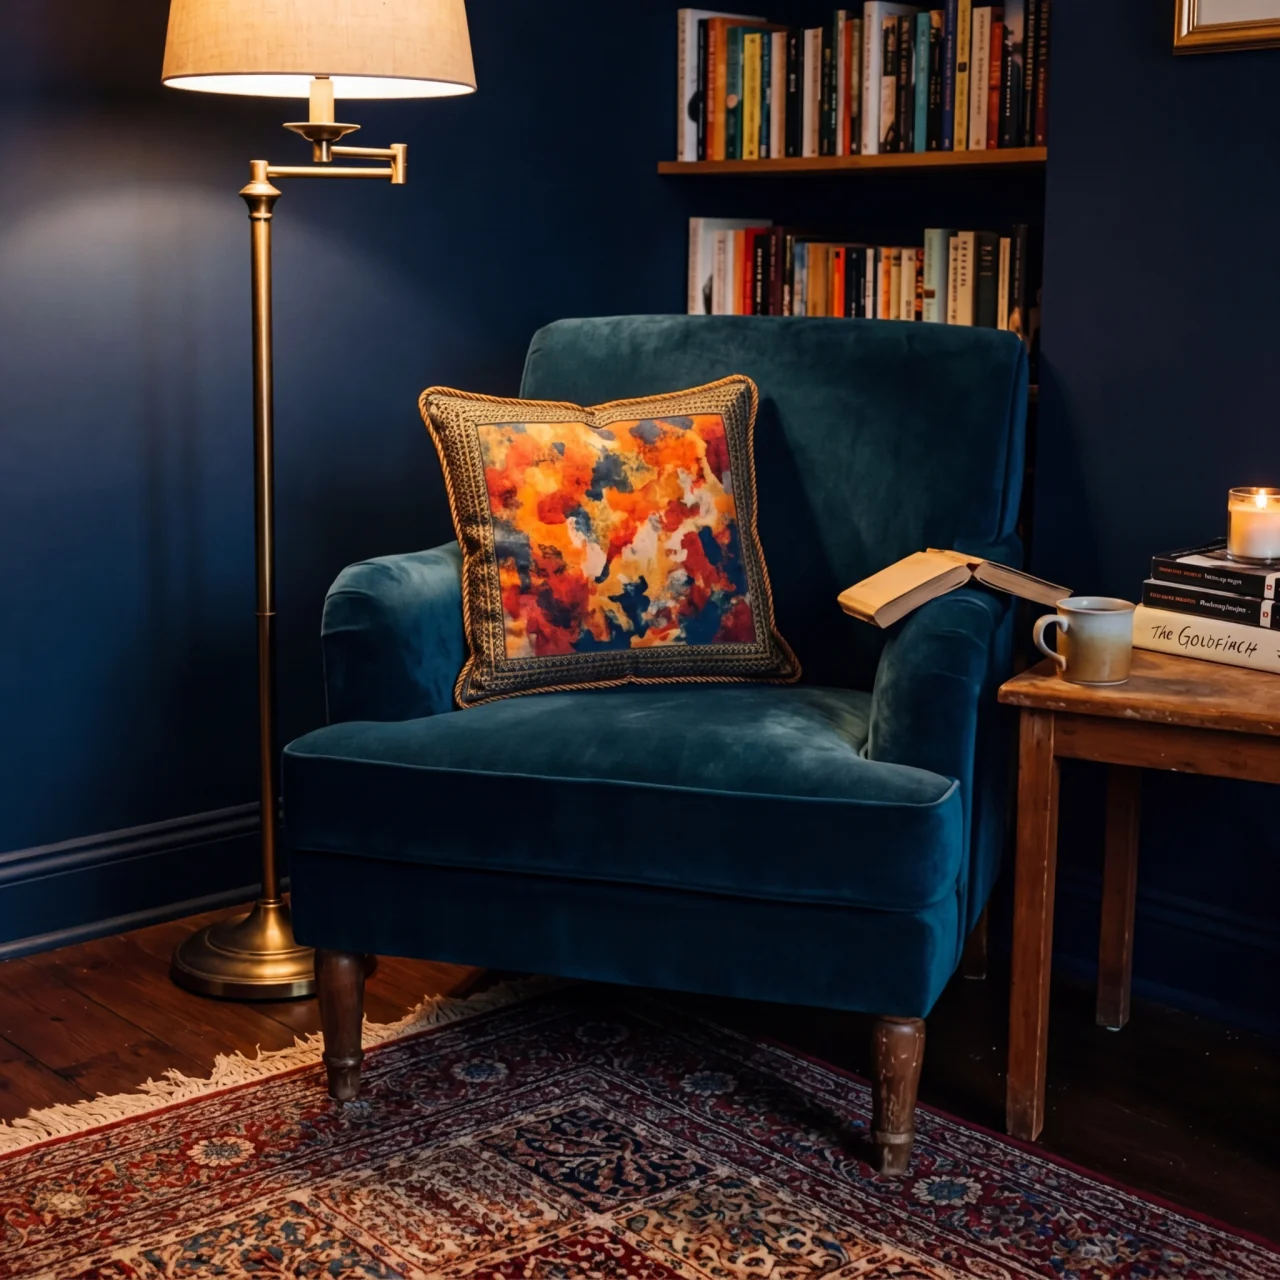
Troca de debrum de almofada com IA
Transforme instantaneamente os rebordos, acabamentos e ribetes de almofadas decorativas nas suas fotos imobiliárias. Esta ferramenta de IA permite a designers e stagers visualizar diferentes estilos, cores e materiais, melhorando a estética interior sem alterações físicas.
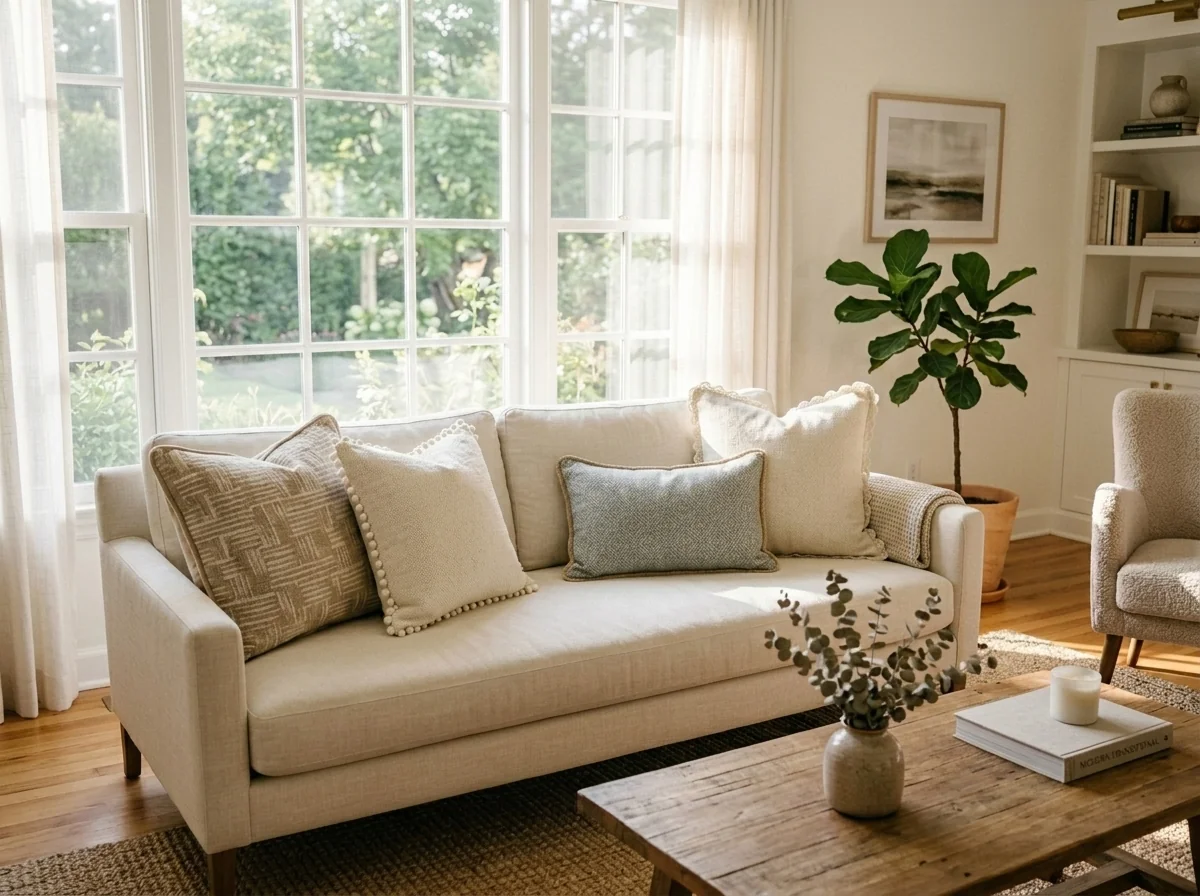
Troca de franjas e acabamentos de almofada com IA
Visualize sem esforço novos estilos de debruados e ribetes decorativos em almofadas nas suas fotos de interior. Esta ferramenta de IA permite a designers e stagers substituir detalhes existentes das almofadas, mostrando de imediato estéticas atualizadas sem alterações físicas.
Leia o guia completo
How long does generation take for Sketch-to-Render Tool?
Generation usually takes between 5 and 15 seconds.
Can I use the results commercially?
Yes, every generated image includes a full commercial usage license.
Tips for your photo
Make sure the photo is well lit and shot from a wide angle.
Remove clutter before shooting the photo for the best results.
Use re-staging mode for targeted style changes.
Frequently asked questions
What input formats and resolutions does the Sketch-to-Render Tool support for optimal real estate photos?
Upload sketches as JPG, PNG, or PDF. For best results with the Sketch-to-Render Tool, ensure a minimum resolution of 1024x768 pixels. Clear lines and distinct areas enhance the AI's ability to convert your property listing sketches accurately.
How long does the Sketch-to-Render Tool take to process a hand-drawn sketch into a photorealistic render?
The Sketch-to-Render Tool typically processes and transforms your sketches into stunning renders within 10-30 seconds. Complex drawings or higher resolutions might take slightly longer, but you'll receive your enhanced real estate visuals quickly for any agent.
What is the typical output resolution and quality of renders generated by the Sketch-to-Render Tool for MLS and Zillow listings?
The Sketch-to-Render Tool generates high-resolution renders, typically 1920x1080 pixels, suitable for all property listing platforms like MLS and Zillow. The AI enhances details, ensuring professional-grade real estate photos that impress agents and buyers.
What are the best practices for preparing sketches to achieve the highest quality renders with the Sketch-to-Render Tool?
For optimal results, use clear, dark lines and avoid excessive shading. Clearly define room boundaries and features. Upload well-lit, high-contrast images of your sketches to help the Sketch-to-Render Tool accurately interpret and transform your property listing.
Can I re-generate or refine a render if I'm not satisfied with the initial output from the Sketch-to-Render Tool?
Yes, the Sketch-to-Render Tool allows unlimited re-generations. You can adjust your input sketch, modify settings, or select different rendering styles to refine your real estate photos. Convert and enhance until your property listing is perfect for your agent.
Technical FAQ: Sketch-to-Render Tool
Quick answers for optimal results using our Sketch-to-Render Tool online
Common mistakes
5 Sketch-to-Render Tool Mistakes Killing Your Real Estate Photos
How to avoid common pitfalls when using a sketch-to-render tool online for property listings
Using Low-Resolution Sketches
A blurry or pixelated sketch will result in a low-quality render. The Sketch-to-Render Tool relies on clear lines and details to accurately interpret the design for MLS and Zillow listings.
Upload high-resolution images or redraw the sketch with thicker, more defined lines. Ensure the Sketch-to-Render Tool has a clear image to work with for optimal real estate photos.
Ignoring Perspective and Scale
Inaccurate perspective or inconsistent scale in your sketch will lead to distorted and unrealistic renders. Agents need accurate visuals for their property listing.
Ensure your sketch adheres to basic perspective principles and maintains consistent scale throughout. The Sketch-to-Render Tool can only work with the information it's given.
Over-Detailing the Sketch
Trying to include too much detail in the initial sketch can confuse the Sketch-to-Render Tool, leading to cluttered and messy renders. Focus on core elements.
Prioritize essential architectural features and allow the Sketch-to-Render Tool to fill in finer details. A simpler sketch often yields better results for your real estate photos.
Neglecting Material and Texture Indications
Failing to indicate desired materials (brick, wood, glass) and textures in your sketch will result in generic or inaccurate material assignments by the Sketch-to-Render Tool.
Use simple shading or annotations to suggest materials and textures. Even basic indications help the Sketch-to-Render Tool generate more realistic real estate photos for your property listing.
Not Experimenting with Different Styles
Sticking to a single style without exploring the Sketch-to-Render Tool's options can limit the potential of your renders. You might miss a style that better showcases the property for the agent.
Experiment with different rendering styles and settings within the Sketch-to-Render Tool to find the perfect look for your real estate photos. Try various lighting and material options.
Unveiling Stunning Results: Your Sketch-to-Render Tool Showcase
Upload your hand-drawn floor plan and witness the transformation with our online Sketch-to-Render Tool!
Your workflow
4 Steps to Stunning Real Estate Photos with a Sketch-to-Render Tool
How to use a sketch-to-render tool online for your property listing and MLS
Upload Your Sketch
Upload your hand-drawn sketch, floor plan, or CAD drawing to the Sketch-to-Render Tool. Ensure the lines are clear for optimal conversion. This will improve your real estate photos.
For best results, use a high-resolution scan or photo of your sketch. The clearer the input, the better the output from the Sketch-to-Render Tool.
Convert to 3D Model
Convert your uploaded sketch into a basic 3D model using the Sketch-to-Render Tool's automated conversion feature. This step automatically interprets the lines and shapes in your sketch.
Review the initial 3D model generated by the Sketch-to-Render Tool and make minor adjustments if necessary to ensure accurate representation of the floor plan for your property listing.
Enhance and Stage
Enhance the 3D model with materials, textures, and furniture using the Sketch-to-Render Tool's staging options. Choose from a variety of styles to create photorealistic renders for your real estate photos.
Experiment with different staging styles and lighting options within the Sketch-to-Render Tool to find the most appealing look for your target audience. Consider the demographics of potential buyers when making design choices.
Download and Publish
Download the high-resolution photorealistic renders created by the Sketch-to-Render Tool. Use these images for your property listing on MLS, Zillow, and other platforms to attract potential buyers.
Optimize the downloaded images for web use to ensure fast loading times on your property listing. High-quality images generated by the Sketch-to-Render Tool can significantly increase engagement.
Use cases
Property Listings for Sketch-to-Render Tool
Social Media Marketing & Instagram Inserate
Architektur- & Umbau-Präsentationen
Sketch-to-Render Tool — Technical Specifications
1. Upload your property photo.
2. Choose the interior style or room type you want.
3. Click Generate and get your result in seconds.
Expert guide
5 Pro Tips: Maximize Your Sketch-to-Render Tool Results for Real Estate Photos
How to get the best photorealistic renders from your sketch-to-render tool online for property listings
Prepare Images: Optimize Your Sketches for the Sketch-to-Render Tool
Upload high-resolution, clearly defined sketches to the Sketch-to-Render Tool. Ensure lines are dark and distinct for optimal conversion. This enhances the accuracy of the 3D model and produces better real estate photos for your MLS listing and Zillow.Adjust Settings: Fine-Tune Your Sketch-to-Render Tool Parameters
Experiment with the Sketch-to-Render Tool settings to achieve the desired level of photorealism. Adjust lighting, materials, and textures for optimal results. This is crucial for creating compelling visuals for agents and their property listing portfolios.Achieve Best Results: Use Consistent Sketching Techniques for the Sketch-to-Render Tool
Maintain consistent line weights and perspectives in your sketches for the Sketch-to-Render Tool. This ensures accurate 3D model generation and reduces distortion. Clear sketches translate to better renders, crucial for attracting buyers to your property listing.Professional Use: Leverage the Sketch-to-Render Tool for Enhanced Property Listing Presentations
Incorporate Sketch-to-Render Tool outputs into your property listing presentations to impress potential buyers. Use the photorealistic renders to showcase design possibilities and increase engagement, giving agents a competitive edge on Zillow and other platforms.How it works
3 Steps to Master the Sketch-to-Render Tool for Real Estate
How to use sketch-to-render tool online for professional property listings in 2025
Upload Your Hand-Drawn Property Sketches
Upload your hand-drawn sketches, CAD files, or floor plans directly to our platform to begin the transformation into high-quality real estate photos suitable for Zillow and MLS listings.
Select Your Preferred Architectural Style
Choose from modern, traditional, or luxury interior design styles to stage your property listing effectively, ensuring your sketch-to-render tool output attracts high-intent home buyers and professional brokers.
Download High-Resolution Photorealistic Renders
Generate and download your photorealistic 3D renders instantly to enhance your marketing materials, providing a competitive edge for every agent looking to optimize their digital home staging workflow.
What you can do
Advanced Sketch-to-Render Tool Capabilities
Photorealistic Render Quality
Convert your basic sketches into stunning, high-definition photorealistic renders. The Sketch-to-Render Tool ensures every detail enhances property listings and real estate photos.
Instant Rendering Speed
Experience lightning-fast transformations of sketches into renders. The Sketch-to-Render Tool delivers photorealistic images in seconds, drastically cutting down visualization time for agents.
Versatile Input Formats
Upload hand-drawn sketches, detailed floor plans, or CAD drawings effortlessly. The Sketch-to-Render Tool seamlessly converts diverse inputs into professional-grade renders for any property.
Customizable Design Options
Customize every aspect of your rendered scene directly from the sketch. The Sketch-to-Render Tool allows adjustments to perfectly stage properties for MLS and Zillow.
AI-Powered Accuracy
Leverage advanced AI to precisely interpret your sketches, generating accurate renders. This Sketch-to-Render Tool ensures realistic outputs without complex 3D modeling.
Professional Real Estate Advantage
Empower agents to create stunning property listings and virtual staging. The Sketch-to-Render Tool elevates MLS and Zillow presence, attracting more buyers.
Pro-level tools at your fingertips